


Kiyomizu Defiled Guide

Sub Mission
Kiyomizu
Kiyomizu Defiled Quest Summary
Tamuramaro, Japan's very first shogun, founded the famed Kiyomizu Temple. Yet now that temple floats in the air. I can't understand how a well-protected temple fell into such a state, but terrifying yokai may lurk there. I must take the utmost caution.
Kiyomizu Defiled Walkthrough
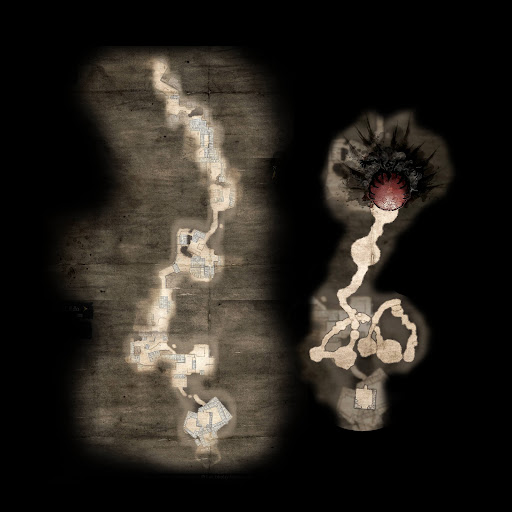
[1] Enter Kiyomizu Temple.

[2] Make your way to the cemetary.
For the list of all the collectibles, scroll down to the bottom of this step! The following will be instructions on how to get to your destination.

Go forward and use the Spirit Vein. Past the shrine is a fork in the road. Take the right path. The gate on the left cannot be opened from this side.

Right before the bridge, you will find a glowing quiver of arrows. You can choose to take them if you are running low. There are several such quivers found in this area.

Stay on the path and you will eventually find a fork in the road. The way forward is the left path, but it is being guarded by Hijikata Toshizo!
・Hijikata has a zigzag forward attack that leaves a trail of fire behind him and ends with striking lightning right in front of where he lands
・He also has a forward slashing combo that ends in creating a small vortex of wind
・It is easy to strike strong attacks at Hijikata right after these attacks

After entering through the gate, take the path on the right. The gate on the left is the gate that could not be opened from earlier and will lead you back near the entrance.

The rest of the way is straightforward without a lot of diverging paths. Right before the castle, you will see a spirit vein being guarded by Kondo Isami.
・Kondo moves faster than Hijikata
・He has a vertical spinning slash that ends in a ground-pound
・He will also slam his katana onto the ground, creating a wave of earth to fly off away from him
・However, it is easy to bring his Ki to 0. A lot of his actions decrease his Ki and you can overwhelm him with strong attacks after he attacks
After the battle, go up to the castle and save at the shrine. Ready yourself for the upcoming boss battle.
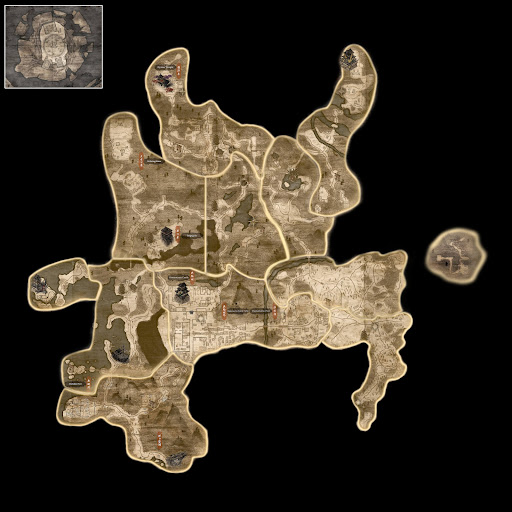
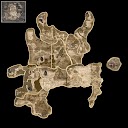
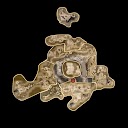
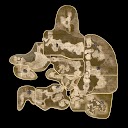
Here are the collectibles and chests that you can find during this Sub-Mission.
| Name | Image | Map |
|---|---|---|
| Ninja's Text |  |  |
| Ninja's Locks 1 |  |  |
| Ninja's Locks 2 |  |  |
| Samurai's Locks 1 |  |  |
| Samurai's Locks 2 |  |  |
| Chest |  |  |
| Kodama |  |  |
[3] Defeat the yokai at the cemetery.

Get to the cemetery through the spirit vein. You will land right into a cut scene.

Defeat Onmoraki!
・For the Burst Break, Onmoraki will fly then charge towards you. Make sure to cancel the attack in time
・Onmoraki can attack either in the air or on the ground
・While flying, it will be good to use your ranged weapons and Ninjutsu in order to hit it. It is also easier to evade its sudden attacks while in Ninja Style
・On the ground, you can switch to Samurai Style and parry its attacks
・Onmoraki has a large AoE attack that can deplete a lot of HP where it flies up into the air to gather energy and will slam that energy to the ground. Make sure to ready your elixirs and try to guard against the attack
・When it releases green mist from its beak, you can either hide under Onmoraki itself or run away from the mist in circles while it chases you
・It can also let out three wind tornadoes in one attack
・Be aware that there are those bloody human-shaped yokai that can spawn in during this fight!
**[4] Talk to Kusumoto Ine.

She will tell you that she will now return to her clinic.
Kiyomizu Defiled Rewards
・Ninja's Locks
・Yamatai Waistguard
・High Priest's Bracers