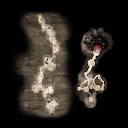


Black Feather Sanctuary Guide

Black Feather Sanctuary Quest Summary
Period: Heian - 1190 CE
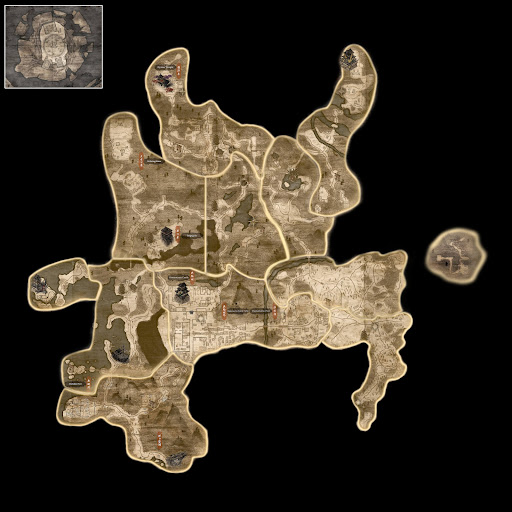
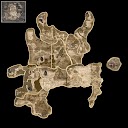
Matsuo-taisha Shrine, a sacred site at the foothills west of Kyoto, has been transformed into a veritable Aratama lair.
One of the barriers is said to be at the Matsuo-taisha Shrine. I'd best make haste and purify it.
Black Feather Sanctuary Walkthrough
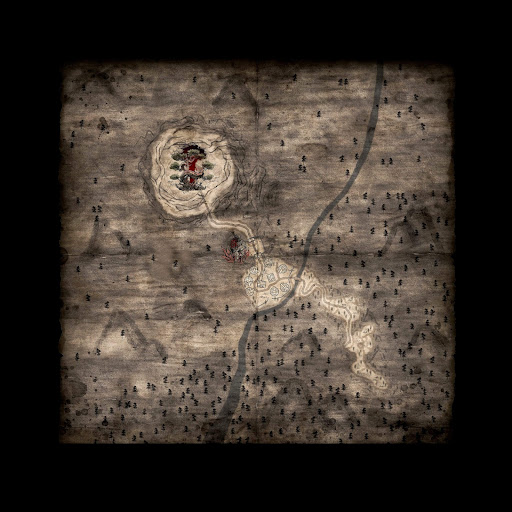
[1] Make your way toward Matsuo-taisha Shrine
Once you arrive at Matsuo-taisha - Approach, this quest will trigger automatically. Jump across the stone platforms to reach the path leading to the Shrine.

[2] Search for Collectibles
AREA 1 - Matsuo-taisha Approach
Watch out for a giant crow shooting projectiles. Take cover behind the ice shards to avoid taking damage.

Note: For the Ruckus in the Sanctuary trophy, you must shoot all three large crows found throughout the mission.
| Point of Interest | Image | Details |
|---|---|---|
| Kodama |  | Don't miss the Kodama hiding at the edge of the cliff! Guide it home before leaving this place. |
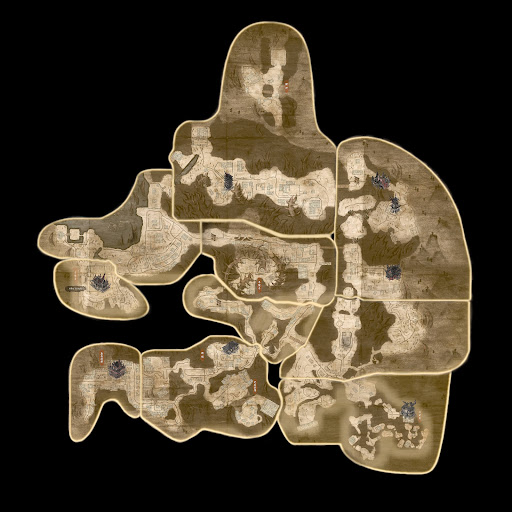
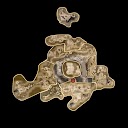
AREA 2 - Matsuo-taisha Great Torii
Reaching the next Shrine at the top will cause the crow to disappear.

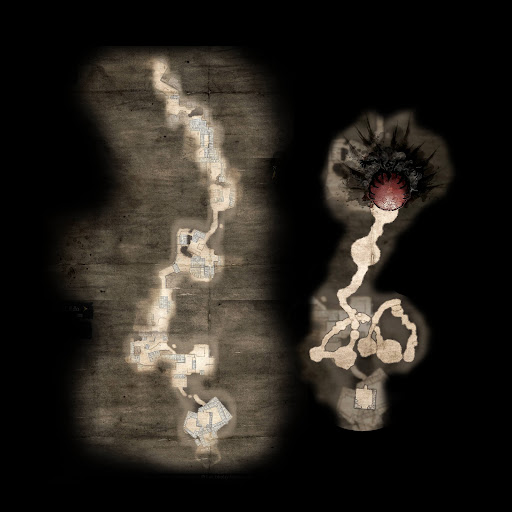
Enter the tunnel and proceed to a chamber filled with enemies. Climb to the next area, then take the left exit.
Note: Push the boulder down the slope to create a shortcut back to the entrance.

Once outside, you'll see a broken bridge ahead.

Fight through the enemies while facing the second large crow.

Proceed through the tunnel on the right to continue. While exploring, keep an eye out for the following Collectibles:
| Point of Interest | Image | Details |
|---|---|---|
| Warrior's Text |  | Looted from a Chest. |
| Nurikabe |  | Perform the correct Gesture or defeat this Yokai to reveal a path. |
| Hot Spring |  | Next, enter another tunnel. Be careful of the rolling boulders here! |
| Secret Skills Text: Enduring Arts |  | Past the Hot Spring, go to the lower level to find this. After breaking the icicles, you'll find a Mujina inside a Chest. Play along with its game or defeat it. |
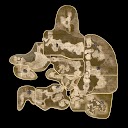
AREA 3 - Matsuo-taisha Ascetic Cave
After exiting the tunnel, you will finally reach the Matsuo-taisha - Ascetic Cave Shrine.

Continue moving down until you get to the open and icy space. You'll encounter the third large crow here.

After that, start finding more Valuables and other Key Items:
| Point of Interest | Image | Details |
|---|---|---|
| Samurai's Locks |  | Search the Corpse by the tree to find this item. |
| Ninja's Text |  | Loot the dead body inside the shed. |
| Crucible Wraith |  | Break the bamboo near the large crow's location to clear a path to this enemy. |
| Mikazuki Munechika |  | From the Crucible Wraith, cross over to the roof to find an opening. Drop down and open the Chest to claim this item. |
Open the gate at the bottom of the stairs to unlock a shortcut to the Great Torii Shrine, then climb the ramp to the left.

Then, keep looking for the remaining Collectibles:
| Point of Interest | Image | Details |
|---|---|---|
| Ninja's Locks |  | Inside a Chest in one of the rooms. |
| Secret Skills Text: Vigorous Spirit |  | Looted from a Corpse next to the door. |
| Samurai's Locks |  | Open the Chest for another Mujina! Deal with it to get the Valuable. |
| Kodama |  | You will also find another Kodama hidden within this area. |
AREA 4 - Matsuo-taisha Monastic Cave
Upon reaching the top, enter the building and turn right to reach the Matsuo-taisha - Monastic Cave Shrine.

Continue through the tunnel and out the other side. Dropping from the ledge will trigger a cutscene, after which you will face the boss, Otoroshi.
[3] Defeat Otoroshi
Otoroshi is a massive Yokai that stands in your way in purifying the barrier!

Here are some Combat Tips when fighting this enemy:
・Otoroshi drags itself around using its arms. It attacks with slams and swipes, fires ice shards, attempts to launch and grab you, and can even hide itself in darkness.
・Once empowered, it stands upright to release a murder of crows from its chest and starts using giant clubs of ice as weapons.
・This Yokai is weak to Fire. Focus on equipping items that enhance this element to maximize your damage.
| Move | Showcase | Details |
|---|---|---|
| Deadly Claws |  | Otoroshi uses its claws during the early phase. Be ready to dodge multiple swings or swipes. Other than that, watch out for its clapping attack that can trap and squeeze you between its arms. |
| Slam Attack |  | Despite its huge size, Otoroshi can leap/teleport and slam itself onto the ground. Once the Yellow/Gray glow appears, dodge immediately to avoid its unblockable Grab! |
| Ice Skills |  | This boss has various ice-based attacks up its sleeve! Keep an eye out for icicles or giant clubs of ice that it can use against you. |
| Crow Attack |  | When Otoroshi pulls you into the Dark Realm, prepare for a swarm of crows launched your way. Deal long-distance damage by targeting the opening in its exposed chest. |
| Crushing Kick/Stomp |  | Another threat in the Dark Realm is that Otoroshi will now be standing on its leg. This isn't just for show! It can now mix its claw swipes with deadly kicks or stomps. Stay alert when it blends into the shadows, since it can teleport to launch a surprise attack. |
[4] Purify the Sagano Barrier

With Otoroshi defeated, use the Purification Talisman to finally clear the barrier and finish the Mission!
Quest Rewards:
・Archer's Hakama
・Ninja's Locks
・Shugendo Hermit Hatchets