


Tiger's Cause Guide

Tiger's Cause Quest Summary
Period: Warring States - 1572 CE
By Grandfather’s will, I must head to Saigagake to confront Shingen. I only hope I am capable of besting Shingen himself, famed as the mightiest of his time...
Tiger's Cause Walkthrough
[1] Continue through Saigagake.

After passing through the door during "The Battle of Saigagake", follow the path until you reach another gate.

Continue ahead and you will see the Saigagake - Bridge Shrine on your left.

[2] Search for Collectibles.
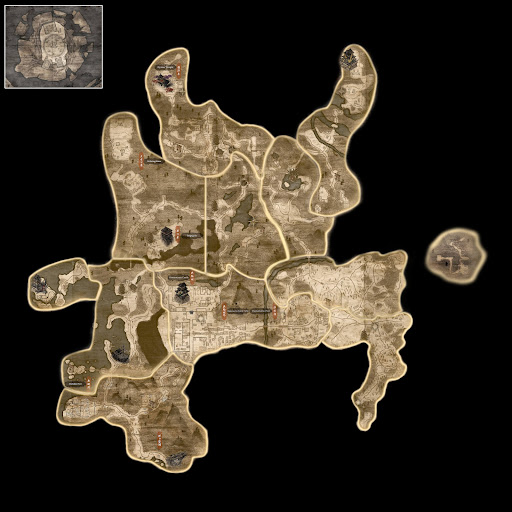
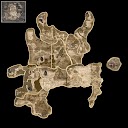
AREA 1 - Saigagake Bridge
Go down to the left of the hill, just past the broken bridge. There's an enemy patrolling the stairs.

After that, make a turn here and jump to cross over.

You can find a Kodama hiding by the edge of a cliff.
| Point of Interest | Image | Map |
|---|---|---|
| Kodama |  |  |
You can then jump across the small bridge, defeat the enemies, and continue to the right to progress.
Optional: Before you move on, check behind the log for a hidden Kappa, or turn left to loot a corpse.

Keep going until you reach a ladder, then go to the right.

Move across the terrain on the side of the cliff to reach a ladder leading up to an area with more enemies.

Once in the area, head down first to battle the enemies and collect your first Valuable:
| Point of Interest | Image | Map |
|---|---|---|
| Magatsu Warrior |  |  |
| Ninja's Text |  Can be looted from a Corpse. Can be looted from a Corpse. |  Found near the Crucible Wraith. Found near the Crucible Wraith. |
Then, climb up the wooden ramps and platforms until you reach a Shrine you can move down to.

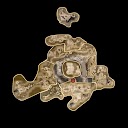
AREA 2 - Saigagake Main Hall
After unlocking the Saigagake - Main Hall Shrine, don't forget to drop the nearby ladder down for easier access.

Turn to the other side to find another Kodama. Cross the wooden platform to reach it.
| Point of Interest | Image | Map |
|---|---|---|
| Kodama |  |  |
Go to the wooden platform past the shrine and take a left.

Before jumping to the other side, head down to the roof to find another little Kodama.
| Point of Interest | Image | Map |
|---|---|---|
| Kodama |  |  |
Clear the enemies in the area, loot some corpses, and open the Chest for your second Valuable:
| Point of Interest | Image | Map |
|---|---|---|
| Secret Skills Text: Illusory Dragon |  Play along or defeat the Mujina Play along or defeat the Mujina |  Open the Chest near a Corpse Open the Chest near a Corpse |
Proceed to the path behind the trees and screens, turning left to enter the cave.

Upon defeating enemies and exiting the cave, turn left and enter another tunnel.
Defeat more enemies in the tunnel and climb the ladder to the left of the exit.

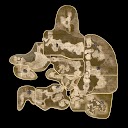
AREA 3 - Saigagake Rear Approach
Follow the path to the Saigagake - Rear Approach Shrine, and keep moving forward.

Upon reaching the area, there are a few places worth visiting before heading to the boss fight:

| Point of Interest | Image | Details |
|---|---|---|
| Yagyo Soldier |  | Defeat the Crucible Wraith mounted on horseback. |
| Kodama |  | Defeat the enemies to find this friendly Yokai. |
| Nurikabe |  | Hit the door or use the right Gesture to reveal the Yokai, Nurikabe. |
| Hot Spring |  | Found inside a shed that was blocked by the Nurikabe. |
| Samurai's Locks |  | Looted from a Chest that was blocked by the Nurikabe. |
| Takeda Sake Bottle |  | A Quest Item for "Depicting the Tiger of Kai" Myth. From the Yagyo Soldier's location, turn around and open the door. You will find the Bottle at the end of the path. |
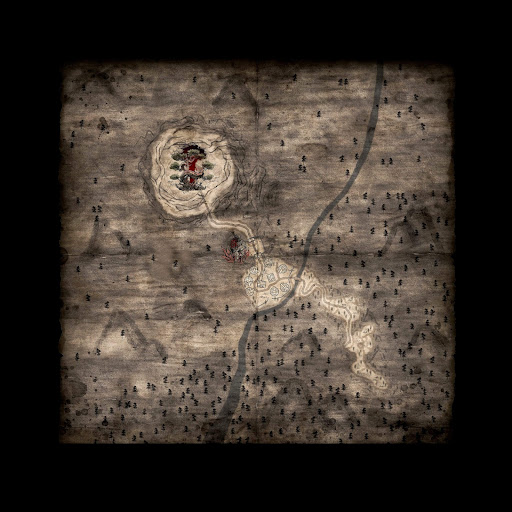
[3] Defeat Takeda Shingen (Yokai).
Head to the white marker and open the door. You'll reach the next area where you will fight Takeda Shingen.

Use these following Combat Tips to gain the upper hand against Shingen:
・Target his horn while the Dark Realm is active, which serves as his weak spot during this phase.

・Similar to the first fight with this boss, he still has Fire and Wind elements to his attacks.
・Your Ninja Style and agility will help in dodging his rapid and close-range attacks.
・When you're successful in dodging his moves, take advantage by landing hits on his back.
In his Yokai form, Shingen is more relentless and agile. Watch out for these moves during the fight:
| Move | Showcase | Details |
|---|---|---|
| Heavy Punches |  | Since Shingen is unarmed, he now relies on his claws to deal damage. Throughout the battle, he will frequently deliver powerful punches or quick slashes. |
| Ground Slam |  | The boss will jump into the air and slam itself into the ground. This is an AoE attack, as the fire reaches across a wide range. |
| Bouncing Crush |  | Takeda Shingen can also bounce from side to side before landing a crushing blow. Keep your distance while he’s in the air to avoid the impact. |
| Grab Attack |  | Once you see him charging with a yellow and gray glow on his arms, time your dodge and dash to the side! |
After defeating the mighty Takeda Shingen, a cutscene will play that highlights his exit.

This marks the completion of Tiger's Cause! Continue with the second part of "The Battle of Saigagake" to wrap up the Warring States story and start "The Age of Clans Begins".