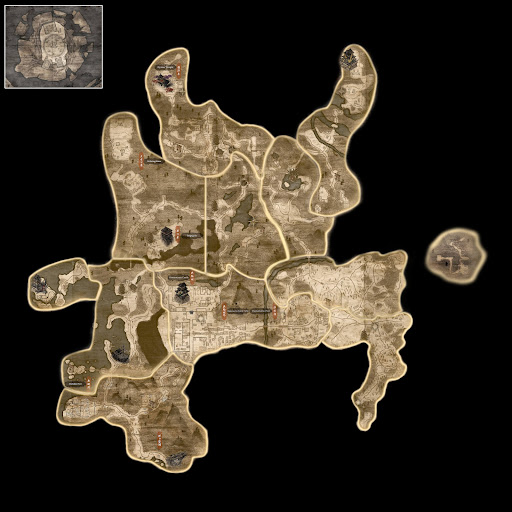


Escape from Hitokoto Slope Guide

Escape from Hitokoto Slope Quest Summary
Period: Warring States - 1572 CE
According to Nekomata, the banner I saw flying above the army earlier was that of the Takeda forces. Takeda is a great warrior of this era, known for this fortitude, as well as one who fought Grandfather... In order to ascertain the situation, I must first pursue Takeda's army.
Escape from Hitokoto Slope Walkthrough
[1] Proceed Onward.

After seeing Takeda's forces, keep heading straight until you see a Shrine.

[2] Pray at the Shrine.
Once you've approach and unlock the Shrine, there will be several new features that you can check out:

・Guardian Spirit - your choice of Guardian Spirit can enhance specific player stats. View their skills and stats, or change your equipped spirits, at any Shrine.
・Battle Scroll - allows you to replay completed missions or undertake exclusive Battle Scroll quests.
・Tutorial Missions - "Basic Controls" and "Expanded Controls" tutorials can now be accessed via Battle Scrolls in the Shrine Menu.
・Leveling Up - use Amrita to raise your Core Stats: Constitution, Heart, Stamina, Strength, Skill, Intellect, and Magic. You can view which stats and weapon's attack will be affected. Levels can also be reset any number of times.
[3] Pursue Takeda's Forces.
Done exploring the Shrine Menu? Let's continue along the path! Remember to inspect any corpses. Searching them can now give you loot or equipment.

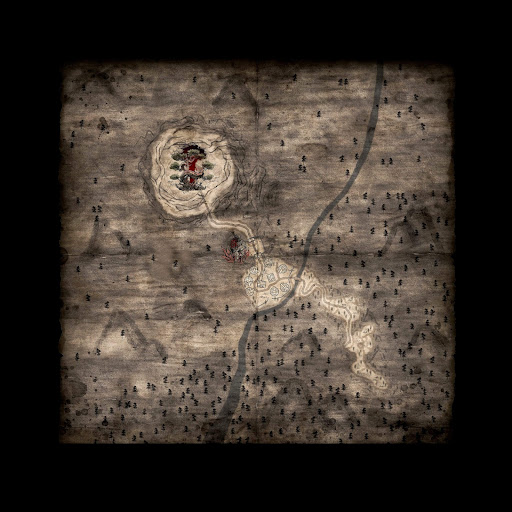
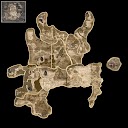
As you proceed, you'll reach Hitokoto Slope.

Turn left to encounter some roaming soldiers. There will be a quick tutorial about Assassinations:

Deal massive damage to unaware enemies! Approach from behind and attack. You can also silence your movement by crouching.
Keep defeating enemies along the way. When you reach the slope, be prepared to dodge a log dropped by a soldier.

After that, loot the nearby body for some Arrows. There will be a tutorial on using a Bow. This will be helpful for dealing with the enemies up ahead.

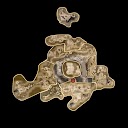
Once the coast is clear and the guards are defeated, explore the sheds for crates and corpses. There is also a large Chest in the center of the area.

While exploring, you will see Blue Benevolent Graves, which allow you to call an Acolyte to fight at your side in exchange for Ochoko Cups.

There are also Red Bloody Graves, where you can fight revenants for rewards and more Ochoko Cups.

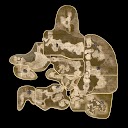
Proceed to unlock the Shrine, then head right. When you spot a Camp in the distance, Nekomata will appear.

[4] Head to Tokugawa's Camp to provide Assistance.

Takeda's forces are moving toward the Tokugawa Camp. Quickly head there and help them out.
Before reaching the next location, you'll find another shrine. Pray there and make your preparations; this will come in handy since a boss fight is only moments away!

[5] Watch the Cutscene.

There will be a cutscene where Takeda's forces are fighting with the people at the Tokugawa Camp. You will lend a hand and meet Honda Tadakatsu. Then, the enemy Yamagata Masakage will arrive.
[6] Defeat Yamagata Masakage.

Yamagata Masakage is a boss who can deal heavy blows and knock you back. Stay calm and study his attack patterns before going on the offensive!

Keep an eye out for the enemy's Ki and prepare to Grapple once it's exhausted.

Additionally, Yamagata can perform quick and charged attacks with his blade. Increase your agility by switching to Ninja Style when you want to focus on dodging and landing long-range attacks.

Lastly, deal a significant amount of damage by waiting for a red attack and counterattacking using Burst Break.

If you're having a hard time, remember the combat tips from earlier quests: call an Acolyte and use your Living Artifact when available!

When the battle is over, interact with Yamagata to trigger a cutscene with Honda Tadakatsu. This will be the start of the next mission: The Hamamatsu Incident - Part 1.