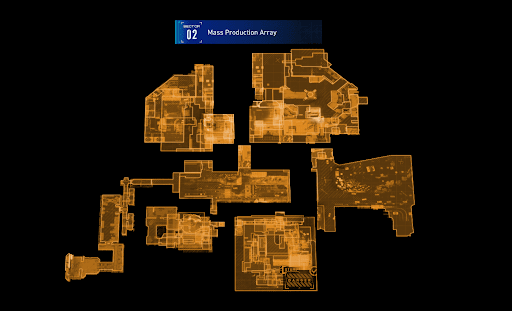


Sector 02: Mass Production Array - Comms Tower Guide

Main Story
Sector 02: Mass Production Array - Comms Tower Quest Summary
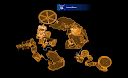
IDUS sends out a ginormous bot known as the Creator! Hugh and Diana must defeat this "controlled violence" in the Comms Tower before they can attempt to contact Earth.
Sector 02: Mass Production Array - Comms Tower Walkthrough
Main Objective: Contact Earth from the Comms Tower.
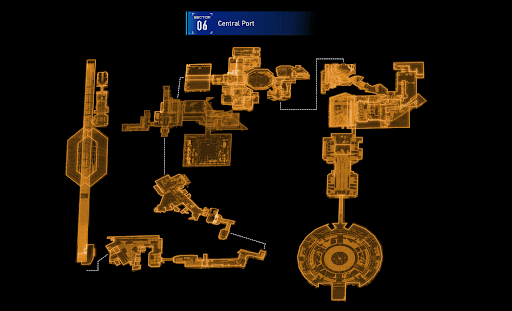
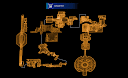
AREA 06 - Comms Tower
After hacking all six beacons, Hugh and Diana can access the road that leads to the Comms Tower.

Current Sub-Objective: Proceed through the Massive Gate.
Simply return to the large gate at the Test Entrance Site main street and the gate will unlock automatically.

| Point of Interest | Details |
|---|---|
| Comms Tower Plaza Escape Hatch |  Use this to return to the Shelter. It is recommended to upgrade equipment and recover first before progressing. Much like the experience in The Concourse, this Sector concludes with a challenging boss fight. |
When ready, head over to the Comms Tower entrance. IDUS initiates another attack protocol to stop Hugh and Diana’s plan.

An Executor appears up on the tower, but the real threat is far worse. The Creator pops out and consumes the smaller enemy as a snack before charging at the two below.

New Sub-Objective: Defeat the Gigantic Bot.

| No | How to Beat the Creator |
|---|---|
| 1 |  Hit 'em where it hurts! Hacking the Creator's head or stomach will reveal its weak points.  Hugh and Diana can use this to their advantage. |
| 2 |  When attacking at close-range, watch out for the enemy's hand swipe or slam! |
| 3 |  Other than its huge arm swings, stay alert for the laser beams it shoots down during the early stage. |
| 4 |  Once Hugh and Diana deplete a chunk of its health bar, the Creator deploys two jammers on its shoulders that block hacking attempts. Focus on removing these antennas. The boss will repeat this move twice more; it later adds two jammers to its rear side and then to the back for the last phase. |
| 5 |  After the first set of jammers is destroyed, the giant robot stands on its hind legs and showcases its skills by creating spikes using the MPA's replicator. Move away from the blue circles appearing on the ground. |
| 6 |  The Creator likely has less than half of its HP when it releases the third and last set of antennas. Retreat when the enemy jumps to the end of the street and stands up. Its ground attacks now move in wide waves toward Hugh and Diana. |
| 7 |  The most dangerous ability happens when the entire area is covered in red warning signs before the boss attacks with series of overwhelming lasers. Find a safe area to escape the red-marked laser zone. |
| 8 |  Use the zipline to easily target the antennas on the middle of the Creator's back.  Keep it mind that it can use hand swipes to destroy the buildings. |
| 9 |  From here on out, the boss will use all moves seen so far. Keep practicing to gain a good recognition of the patterns. |
| 10 |  A final and desperate attack will be made by the Creator once its health is fully depleted. Hugh and Diana must complete the hacking portion to bring the enemy to the ground and end the fight. |

Hugh and Diana are successful in defeating another boss! This time, they get their celebratory high five just right.

| Quest Rewards | Details |
|---|---|
| Shelter License Key | A reward for defeating the Creator. This key card raises the Shelter Access Level to 2. |
| The Purr-fect Guide Trophy | An achievement for reaching the Comms Tower. |
With the huge bot out of the way, the duo can finally enter the Comms Tower. IDUS got ahead of them as usual, and access to contact Earth is denied.
Hugh believes that they should continue forward and explore the Terra Dome for more clues.

The cat that Hugh and Diana met earlier at the Test Site Entrance suddenly shows up and... speaks? It is revealed that it is controlled by Eight, who asks for help after becoming trapped in the Terra Dome during the moonquake.

The two of them have more reasons now to investigate the newly unlocked area.

Players return to the Shelter after completing the Mass Production Array questline. Then, they may proceed to the next sector, Terra Dome.
| Note |
|---|
| For a complete list of Collectibles in the Mass Production Array, use our Guide! |